Thursday, March 15, 2012

First lost tooth!

I'll begin by telling you a Walmart story. (I have had probably some of my worst parenting stories occur in this store). Two years ago, when Eli was 2 1/2, I had just finished buying all my groceries and we were about to leave. Eli was holding onto the shopping cart with one hand while walking and he tripped. His face swung into the side of the cart and there was blood EVERYWHERE. He started screaming and I tried to comfort him and see where the blood was coming from. After he calmed down a bit I checked him out and saw that his front tooth had been pushed in a bit. I quickly straightened it. (I'm not sure if that's the right thing to do, but I panicked.) We then left the store with a pool of blood by the door. (I probably should have found an employee and told them what happened, but didn't because I had a very hurt boy who I just wanted to get home.) In time his mouth healed, but his tooth began to turn grey. The dentist told me since it was his baby tooth, we didn't have to do anything about it and it would fall out eventually. But, if a bump developed above the tooth it would mean the tooth was infected and would have to be extracted. Well, a couple of days ago Eli told me there was a bump in his mouth and it was just above his damaged tooth. I made an appointment with the dentist for the next day. I wasn't sure how it would go since I had to take my two younger girls with us. The dentist was so good with him, and had his tooth out before he even knew what was happening.  And my girls were little angels. Anja was totally enthralled with what was going on, and Isla was so tired she was almost falling asleep in my arms. After it was all over Eli was very proud of his new space in his mouth. I have to admit I teared up a bit seeing my boy starting to look more grown up.


...A little extra $$ since the dentist had to take it out.

Friday, March 9, 2012

The IKEA Skirt

Dana from MADE has a tutorial for the most adorable skirt she calls The Market Skirt. I used it to make skirts for my girls which I renamed  "The IKEA skirt". I'm trying to decrease my fabric stash and found IKEA fabric I've been hanging on to for over six years. I thought the plaid pattern was perfect for Dana's "Market Skirt". She suggests using thicker fabric for the white bands and pockets and I just happened to have an old curtain from IKEA just waiting to be transformed. Today was cleaning day at my house and after the house is all clean I like to take the kids out somewhere fun. This not only preserves the clean house, but also rewards the kids for their help. Today I decided to take them to IKEA to play and thought it would be the perfect photo op for their new skirts.
I just happened to have two navy shirts in the perfect sizes for my girls laying around in my fabric stash. I chopped off the sleeves using Christie's tutorial from A Lemon Squeezy Home to finish them off. Then I used the extra fabric from the sleeves to girly-up the shirt with a ruffle.

Tuesday, March 6, 2012

Puppy Party

Our boy turned 5 in February. It's hard to believe five years have gone by since we first brought him home from the hospital. I loved him from the first moment I saw him, but had no idea how much more my love would grow for him as the years go by. He is such a sweet, kind boy. He's thoughtful and sensitive. His favorite things are Lego and animals. I let him choose his birthday theme this year and he wanted it to be about puppies. So this was the result:


A few weeks ago ELi attempted to draw a dog for the first time. Isn't it cute?! I couldn't resist including it in the party decor. I love the mix of capital and lowercase letters and the backwards g.


Of course the party started with a good old balloon fight initiated by the kids. I'm pretty sure this happens every time we have balloons in the house.


After the balloon fight, I thought it would be good to introduce a calmer activity and had the kids make puppy hats.
I used black eyeliner to draw the puppy faces.


Now those are cute puppies!
I was pretty impressed by my husbands balloon animal making skills!
I had some puppy colouring pages for the kids to colour.
Pet Shop. The kids got to pick out their very own puppy and puppy supplies: bouncy ball, collar with tag, puppy chow (coco puffs), puppy vitamins (gummy candies), blanket, and adoption certificate.


The birthday cake: baked in a (new) puppy dish and decorated with coco puffs to look like a bowl of dog food.
I wish I could say she was pretending to act like a puppy, but I think we need to work on table manners.
The party favor bags contained sugar cookies in the shape of dog bones.
It was fun, but now I'm ready for a bit of a birthday break!

Credit to all my inspiration:
cupcake flags and doggy bags: One Charming Party
puppy hats and puppy shop: The Crafting Chicks
cake: Max & Lucy
food, labels, and coloring pages: Hank & Hunt

Tuesday, February 14, 2012

Valentine's Day

There were lots of celebrations at preschool today. We of course celebrated Valentine's Day and also Eli's birthday. I stayed to help out. It was fun to see how my boy interacts at school. I'm so proud of him. All the kids exchanged Valentine's cards. Eli was so excited that he spent the majority of his time at preschool guarding his Valentine's box. With the help of photoshop I created Eli's Valentine's cards.


I made the kids heart shaped pancakes for breakfast and gave them a few Valentine's chocolates.

Eli decided to decorate his pancake with his chocolates.

Anja had them all eaten before I even got her pancake on her plate.

Monday, February 6, 2012

DIY Knight Helmet

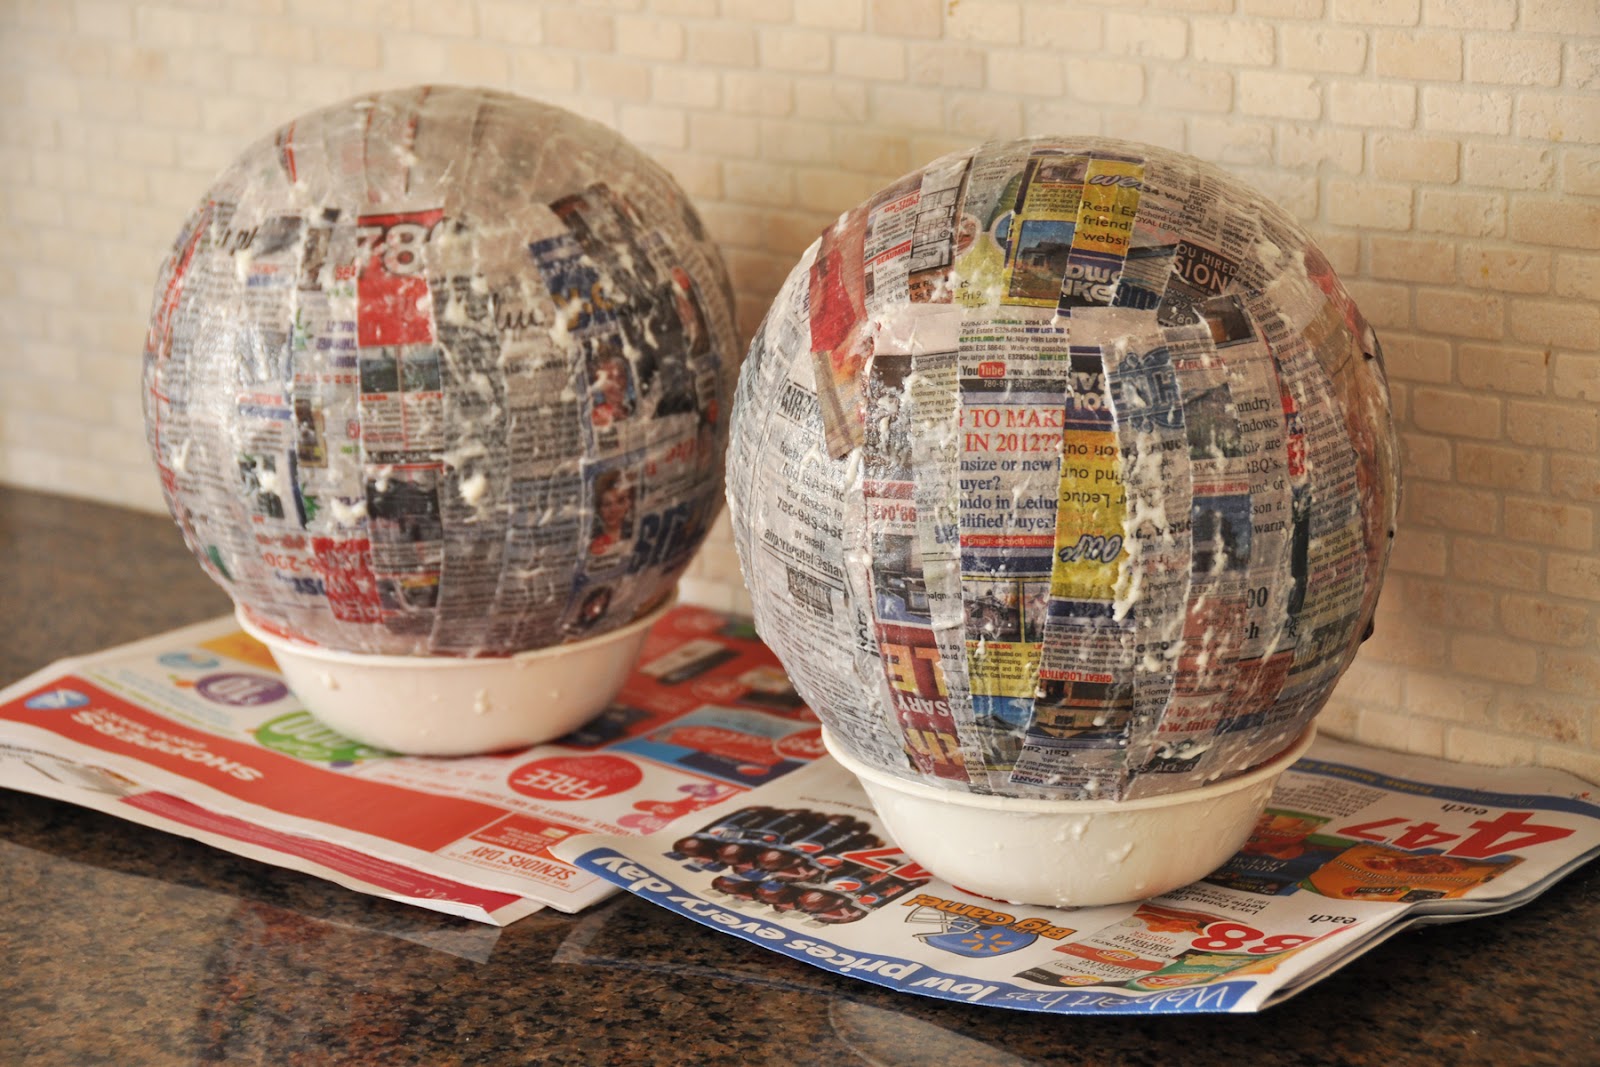
My son has been asking to make a knight helmet for months. I wasn't exactly sure how we would do that, so I put it off until I came up with the idea of creating it out of paper mache. This is what we came up with:


Paper Mache Knight Helmet Tutorial:

1. collect  your supplies:
- flour
- water
-  measuring cup
- mixing bowl
- newspaper
- balloon
- paint
- paint brush
- brads
- scissors (and utility knife)

2. mix flour with water (ratio 1:2). For one helmet 1 cup of flour and 2 cups of water
3. cut newspaper into 1 inch strips
4. blow up balloon about the size of your child's head

5. dip paper strips in paste, pull through fingers to wipe off excess paste and place on balloon.

6. once several strips are on balloon it helps to place balloon in a (cereal sized) bowl to hold it up.
7. apply about 5 layers of strips to balloon covering top 4/5ths of balloon. It helps to place strips in different directions for each layer to strengthen helmet.
8. allow to dry overnight (or longer)


9. paint (wear safety goggles if you wish, for extra style make sure they are swim goggles)

10. pop balloon and remove balloon
11. cut out helmet shape. Use piece you cut out for mask part. Cut this part into an oval shape and use your utility knife to cut slits from the middle.
12. Use utility knife to poke holes in sides of mask and helmet where you want to attach it.
13. Poke brads through these holes to attach
Cardboard shields
*This is how Anja dresses pretty much every day when at home.


...And now you have a knight to keep your house free of dragons. :)

Monday, January 30, 2012

Valentine's Day Craft

Today, my kids and I made these crayon hearts using Martha Stewart's instructions. As a kid, I loved crafts that involved melting crayons, so I thought it would be fun to do this with my kids. I think their favorite part was pealing the paper off the crayons as normally they are not allowed to do that.


This was the point where Eli decided he had done enough. He's becoming less and less interested in crafts lately.

I used construction paper to protect my iron and ironing board from the wax paper and crayon shavings.


Next time I'll use less crayon shavings as it turned out a little thick and not as transparent as the ones Martha Stewart made. But then again, kids crafts aren't supposed to be perfect.

Sunday, January 29, 2012

Upcycled Valentine's Day Dresses

I don't usually like getting outfits for my kids that are too holiday related because then I feel I can't get much use out of them. But I found this tutorial on Pinterest and thought it would be really cute to apply to the Sienna dress pattern (from LilBlueBoo) that I use ALL the time. I decided to not add the ruffles to the heart because I wasn't sure how it would look after being washed. And also it looked like a lot of work! I used 4 t-shirts (from by basement stash) to make the two dresses. I call them Valentine's Day dresses, but I think they could be worn past Valentine's Day as well because they aren't too "Valentinesy".


Anja loves layering, so this dress can be worn all year round!

I added little diamonds using Jewel-It Embellishing Glue, which is supposed to withstand washing. This is the first time I've used it, so we'll see how it holds up in the wash.


Now I need to find some cool boy patterns.

This is totally unrelated, but Anja just learned to stand!